
So you’ve just crafted the perfect barbecued tri-tip (maybe even using my method, here). You’ve let it properly rest and now it’s ready to serve to your hungry family or guests. All that’s left to do is slice it up and bring it to the table. Piece of cake, right? Maybe, maybe not. Let’s take a moment to look at how to properly slice a tri-tip to ensure the best finished product possible. Don’t waste all that time and effort by butchering (heh-heh) the last step.
As with any large piece of meat or roast, it’s important to slice against the grain of the muscle fibers. This results in slices that consist of cross-sections of many muscle strands, as opposed to slices consisting of a few muscle strands that run the length of the slice. The former makes for a very tender bite and chew. The latter can be almost “stringy” and more difficult to eat. A properly cut slice can be pulled apart with ease, while an incorrectly cut slice will stretch and stay intact (since this is what muscles are designed to do).
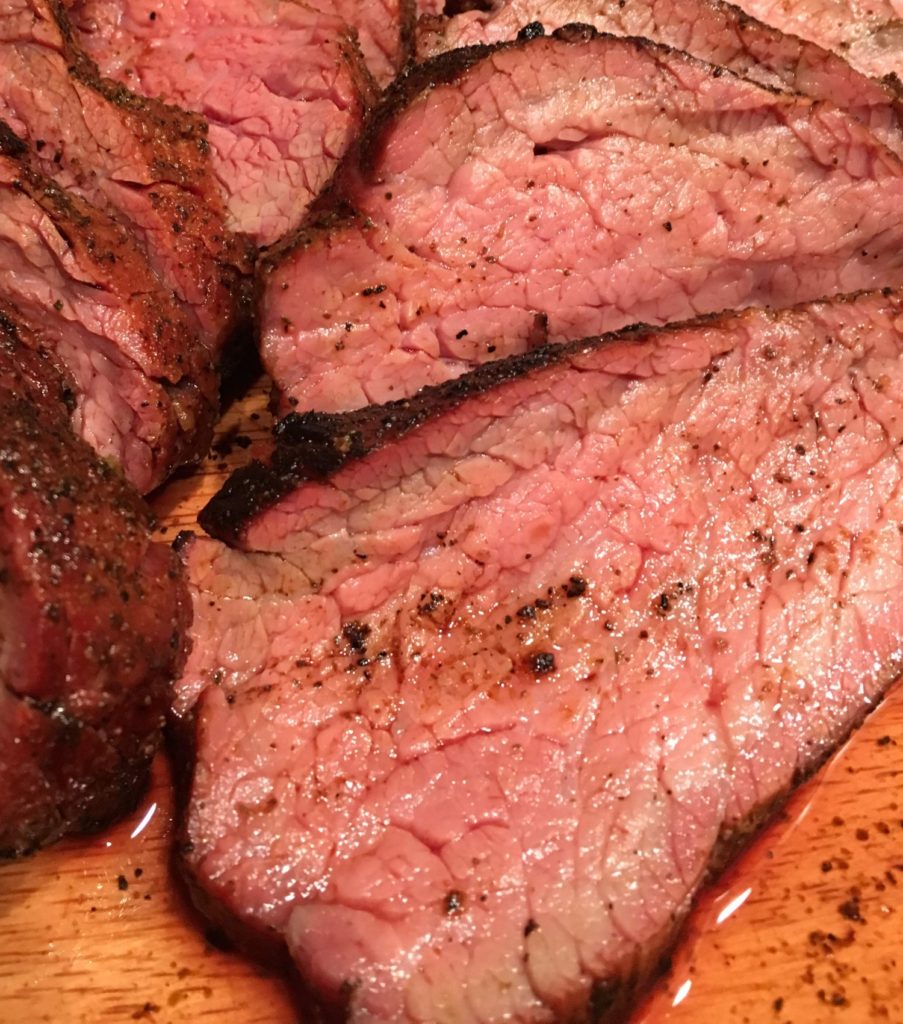
Take a look at the pictures below for what a cut with, and against, the grain looks like.

When it comes to tri-tip, this basic tenant can be tricky to execute since the cut has 2 distinct muscle grains. Cutting through the entire roast in one direction will result in about half your slices being cut correctly, and half cut with the grain. Let’s take a look at a typical tri-tip. You’ll notice that muscle fibers tend to almost fan out from the 90° “corner” of the tri-tip. This results in many fibers running the length of the skinnier end, that gradually pivot to a different angle by the time we get to the thicker end.

Now, every individual cut is a bit different, so take a moment to look at the lines on your piece. Try to identify where the angle of the muscle strands starts to change. That’s where we’ll cut the tri-tip in half. On this particular roast, the yellow dotted line is roughly where we should make this first cut.

After you’ve separated the tri-tip into 2 pieces, it will be much easier to slice against the separate grain directions of each part. Follow the orange dashed lines above to slice each piece correctly. As far as the thickness of each slice, that’s personal preference. If you’re serving the slices straight up, then I’d recommend going a little thicker - about the width of a #2 pencil. If you’re making sandwiches, try thinner slices. These will be easier to bite through in sandwich form, and keep the rest of the sandwich intact.
The right tool for the job depends on the job, and selecting the right knife depends on what meat you're trying to cut, and how you're trying to slice it. For a relatively small roast like tri-tip, you can usually get away with a standard chef's knife (like in my video below). However, when cutting a large amount of uniform pieces, a long slicing knife makes the job way easier. Check out my recommendations below:
No matter what knife you choose to go with, make sure you're always cutting against the grain. Using long, smooth, controlled slicing motions will produce clean cuts and even pieces.
Happy slicing!
Properly slicing a tri-tip, or any finished cut of meat for that matter, is an important final touch. Make sure every bite of your tri-tip not only has the perfect flavor but also the perfect texture. A great slice is the key.

Viewing the tri-tip from the top, notice where the angle of the muscle fibers starts to change. These fibers will fan out from 90 degree "corner" of the tri-tip.

Cut the tri-tip roughly in half, where the angle of the muscle grain changes direction.
Slice that narrower half perpendicular to the length. Slice the wider half perpendicular to the muscle grain.
Did slicing your tri-tip this way make a difference? Let us know in the comments.